Don’t want to read through all this?
Just point any AI chat (Claude, ChatGPT, etc.) to this page in Markdown or to the llms.txt index, and ask it to generate the config files and commands for you. It’ll read the docs, ask you a few questions about your setup, and give you ready-to-use configuration. Save your time — let the model do the reading.
You could also contact me via Telegram — I’m always eager to help. I’m not being just polite here — I really like to chat with like-minded people, especially if you love coding as much as I do.
Latest Version
If you are new, download the latest version. It’s an automated build of the most recent code and features.
Legacy Archive
I keep archive of legacy versions to avoid interruptions of your work. If the most recent version has bugs I missed, you could always rollback to the latest stable version. Please note that installing legacy versions in the first place would limit your trial license time because of built-in older license key.
Prefer Docker Instead?
Run Xedant Code in Docker Desktop on Windows with WSL 2 backend for full container isolation.
Per-project instances
Xedant Code runs on per-project basis: one instance per project. It fully isolates projects from each other, making it easier to launch and stop individual instances on demand.
By default the app is installed with a multi-framework demo project to showcase all the features from development to building, linting, deploying and auto-fixing bugs, skill management and others. When you launch the app directly, you would see this demo project.
How to setup your project
You would need to create either a .bat file that sets environment variables for it, or create a shortcut that passes them via command-line. You don’t need to remember them – just pass documentation url or markdown file to any model of your choice and ask it to generate .bat file or command-line parameter list for your project.
Shared skills
Separate skills repo was implemented on purpose: it enables to reuse common skills like planning and skill editing between projects. It also makes it easier to create new skills using existing ones as a template. You could start with a demo skills repo, then copy it to your own repo for updating and extending.
Installation
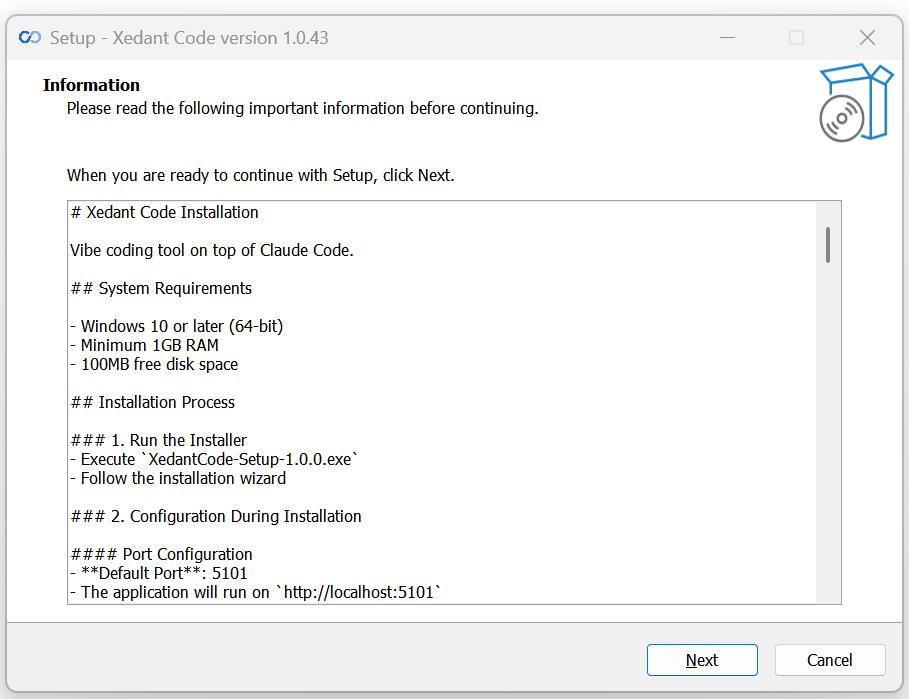
Introduction – too long to read, just for backup purposes in case online docs aren’t available at the moment.
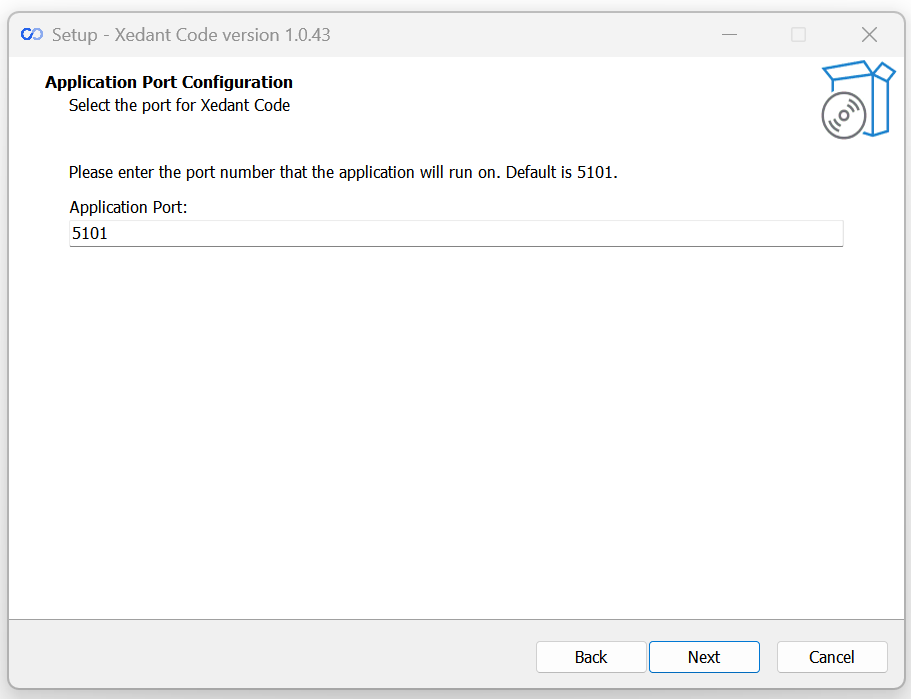
Demo project default port, leave it as is. Each of your projects could have its own individual port, this option is for demo purposes only.
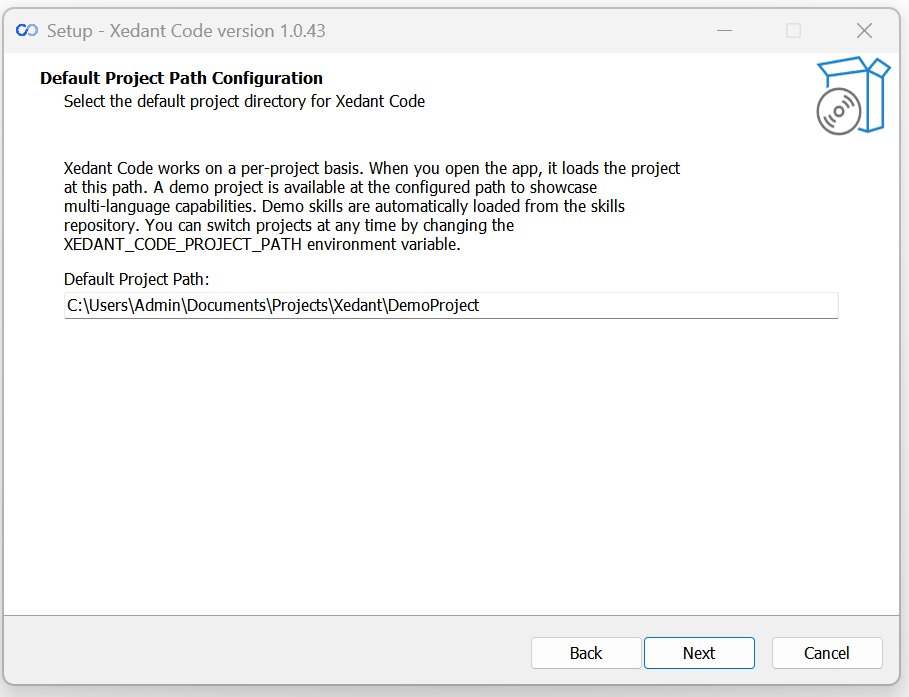
Demo project path – you could leave it as is. Your projects would have their own folders according to environment variables.
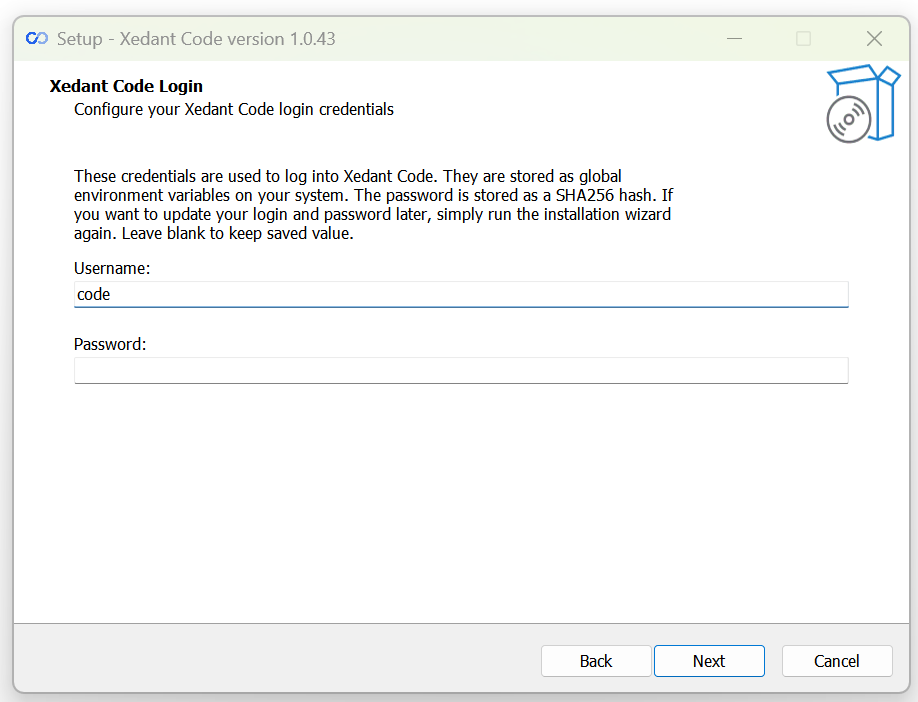
Login and password for the app. They would be stored globally in your environment variables, used by default for all your projects and could be updated by re-installing the app. Your projects could also have their own logins and passwords if you like – it’s set with project-specific environment variables as well.
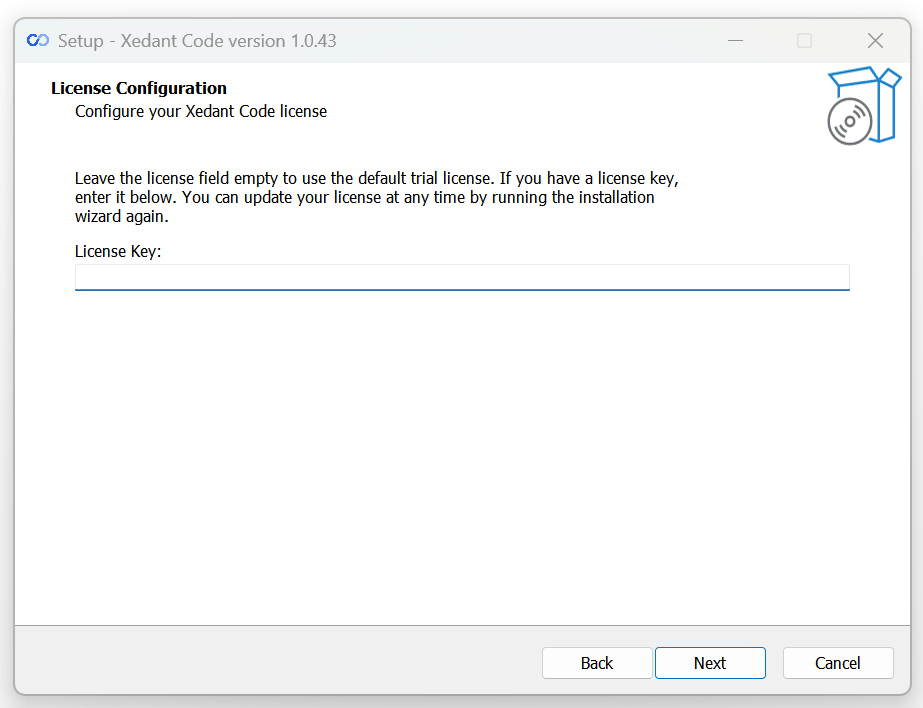
Your license key if you already have one. Stored globally in your environment variables, automatically applied to all your projects. On the other hand, each of your projects could have their own license keys as well.
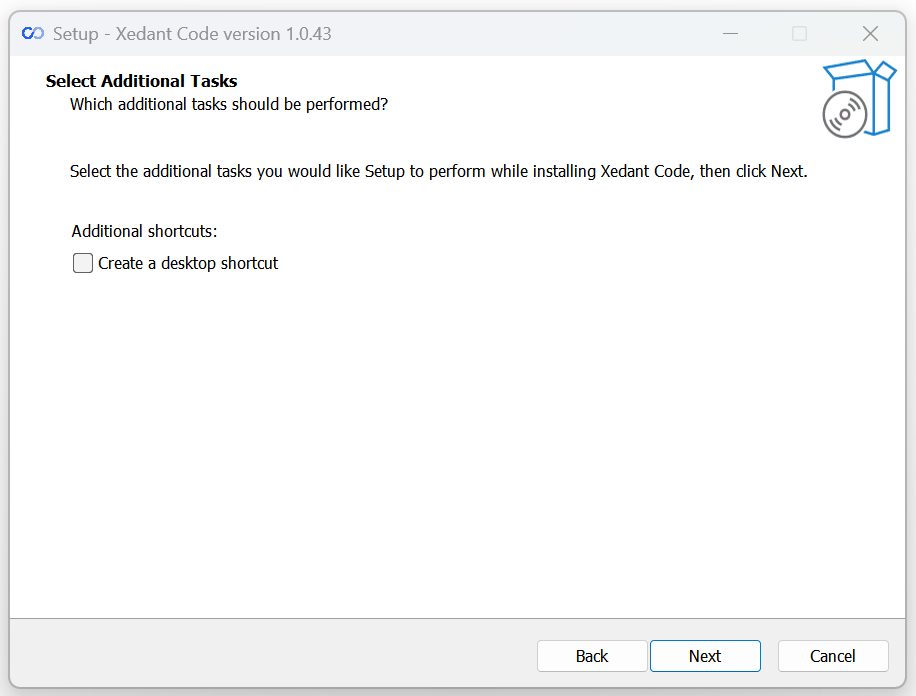
To add more useless icons to your desktop. As you could remember, launching the app directly opens a demo project.
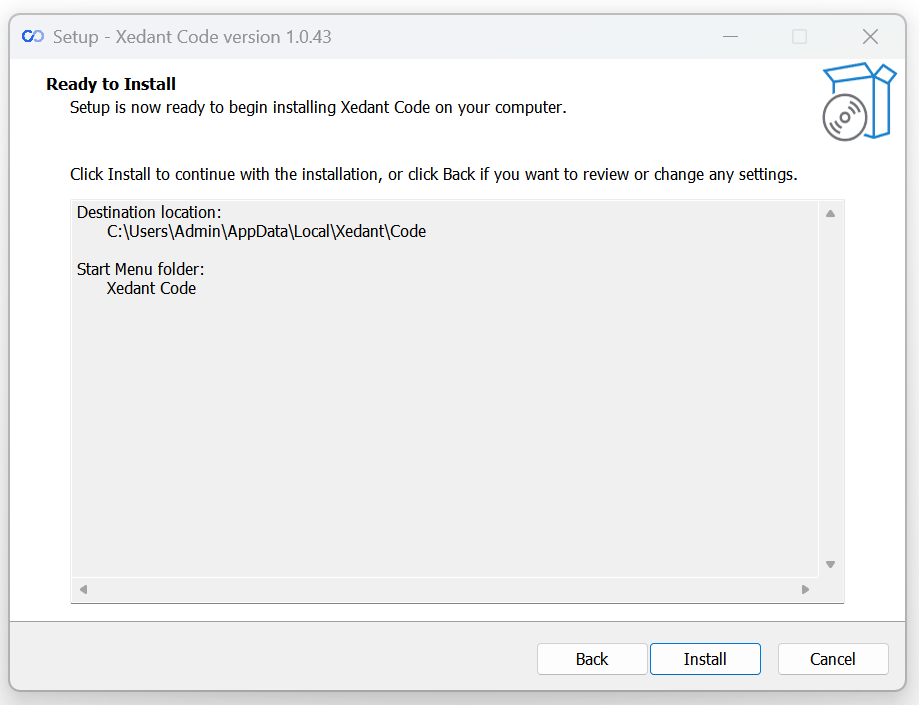
Final confirmation step.